前回に引き続きBlenderでの光線解析について調べていく。
Blender3.6でもLuxCoreが使える!
先日、LuxCoreRenderについて調べていたら、なんとBlender3.6でも使えるバージョンが出ていることを知りました。以下のリンクからダウンロードができます。
GitHub - LuxCoreRender/BlendLuxCore: Blender Integration for LuxCore
Blender Integration for LuxCore. Contribute to LuxCoreRender/BlendLuxCore development by creating an account on GitHub.
github.com
Releases · LuxCoreRender/BlendLuxCore
Blender Integration for LuxCore. Contribute to LuxCoreRender/BlendLuxCore development by creating an account on GitHub.
github.com
一応、プレリリースということですので、ベータ版という扱いみたいです。
インストール方法については、以前のバージョンと同じです。
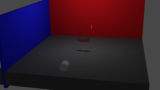
手順1 zipファイルのダウンロード
Releases · LuxCoreRender/BlendLuxCore
Blender Integration for LuxCore. Contribute to LuxCoreRender/BlendLuxCore development by creating an account on GitHub.
github.com
から、『BlendLuxCore latest build』を選んでダウンロードします。
手順2 Blenderのアドオンにインストール
ここからは、一般的なBlenderにアドオンをインストールする方法と同じです。
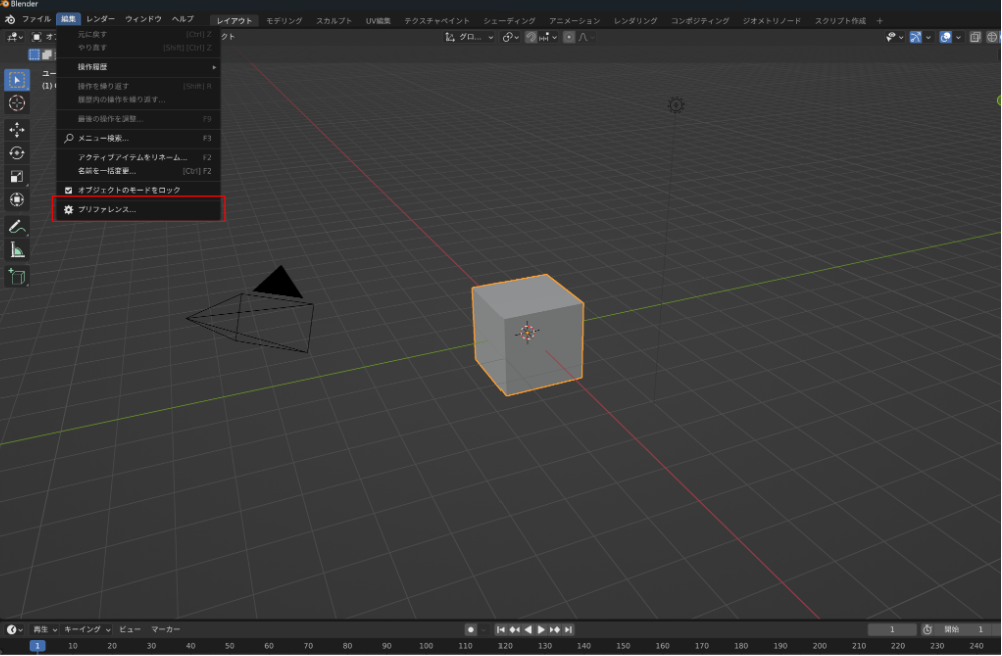
編集⇒プリファレンスを選択し、Blenderプリファレンスウィンドウを開く。
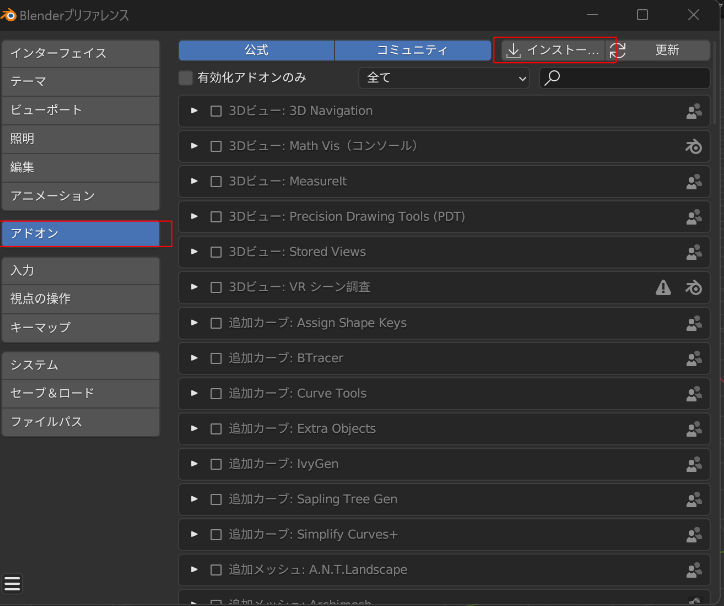
アドオン⇒インストールで先ほどダウンロードしたファイル(BlendLuxCore-latest-win64.zip)を選択します。
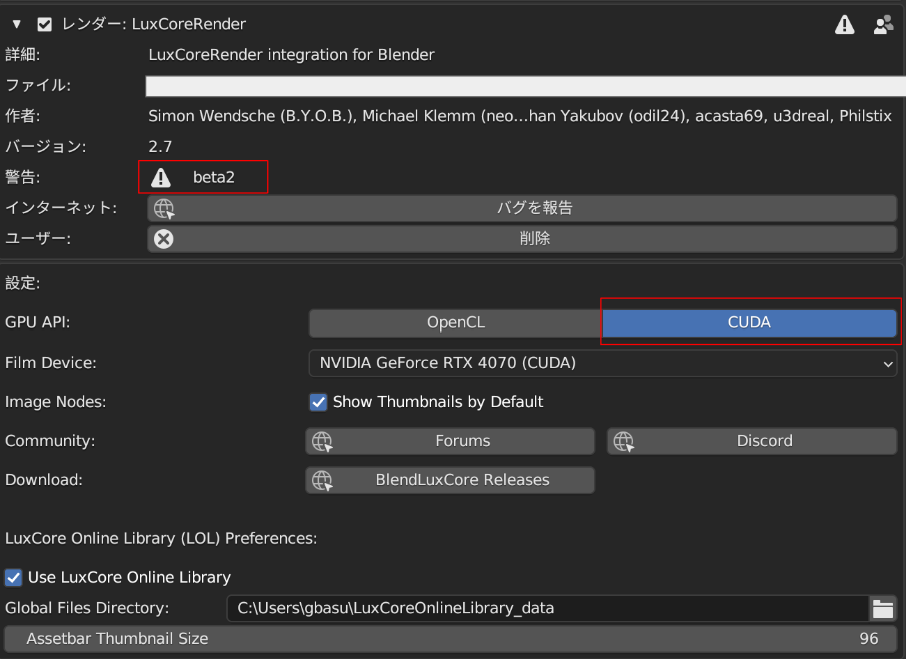
すると、LuxCoreRenderがBlneder3.6にインストールされる。
詳細を見ると、beta版であることが記載されている。ここでは、CUDAを選んでおく。
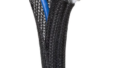
実際に使ってみる
とりあえず、前回まで使っていたファイルを開いてみると、
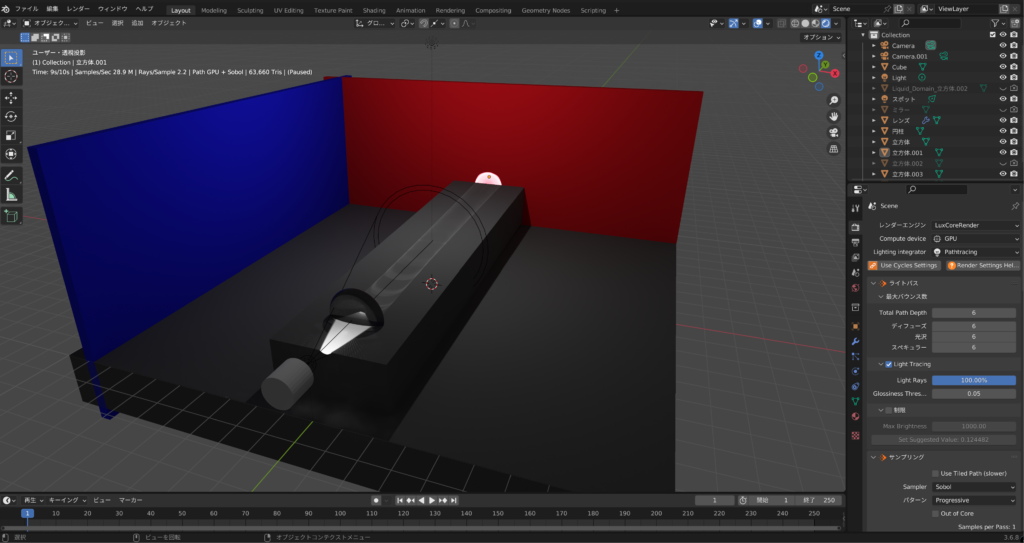
本当にBlender3.6で使えてる!(右のレンダーパラメタのデザインもアイコンが追加されたりしている)
これは捗ること間違いなし。